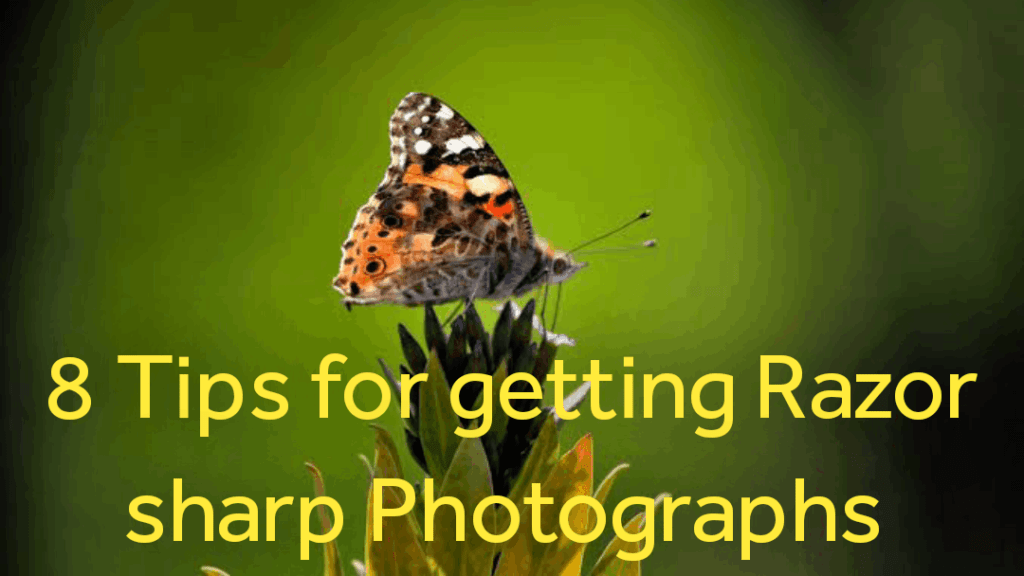
8tips for getting razor-sharp photographs
|
Soft photographs are far less appealing than sharp photos. When you take a photo of a memorable occasion and the pictures come out soft, fuzzy, or out of focus, it is incredibly upsetting. Therefore, I will outline the methods I employ in this article to ensure that my photographs are always razor-sharp.

You must address all of the blurry photo issues at once in order to attain the best possible sharpness. I’ll go over a couple more of them in the paragraphs that follow.
1. Understanding ISO
Set your camera’s ISO to its lowest “base” level first (in my Nikon camera it is ISO 200). Keep in mind that the basic ISO of your camera will provide the sharpest, highest-quality pictures. The more noise there is in the image, the greater the ISO (sensor sensitivity) is. I advise you to read my post on comprehending ISO.
2. Choose your Camera Mode
Ninety-nine percent of the time when I’m taking images in low light, I shoot in aperture-priority mode and set the aperture to the widest setting on my lens, also known as the maximum aperture, or the lowest f-number. Depending on the lens, this is typically in the range of f/1.4 to f/5.6.
3. Choose Shutter speed
After choosing the appropriate metering mode and setting your camera to aperture priority, aim it at the object you wish to capture and half-press the shutter. The shutter speed should appear on the viewfinder’s bottom if you do this.
4. Keep the camera steady
The shutter speed of your camera and fuzzy pictures are directly related when you are hand-holding it. The likelihood of blurrier photos increases with the shutter speed (particularly below 1/100 of a second). Why? Because while holding a camera in your hand, elements like your posture, breathing, and hand-holding technique all play a significant part in stabilizing the camera and generating shake-free photographs.
Consider it to be like carrying a rifle in your hand. You should stand as steadily and steadily as you can, pull the stock firmly into the shoulder, exhale, and then shoot. You wouldn’t want to move around while trying to shoot. The same method is excellent for photography, particularly when working with lower shutter rates.
5. Focus on your Subject
Learn how to focus effectively and how to handle focusing problems. This one is crucial because image sharpness is directly impacted by your camera’s focus. The first thing you should learn is how to tell the difference between a focus issue and camera shake/motion blur.
If your image’s subject is blurry yet objects nearby or farther away are clear and precise in focus, there is probably a focus problem. The use of an excessively lengthy shutter speed when holding a camera is typically to blame if the entire image is blurry and nothing is sharp. Last but not least, if an object in your photo that is moving quickly is blurry or streaky in the direction of motion, your shutter speed is too slow to stop the subject from moving. That isn’t a focus problem; use a faster shutter speed.
6. Choose Depth of Field
Always focus on the eye that is closest to you when taking pictures of humans or animals. This is crucial since your depth of field will be extremely small when working with big apertures between f/1.4 and f/2.8. As long as the eye of the subject is crisp, the image will most likely be acceptable.
7. Choose a Sharp Aperture
Aperture is another factor in getting the best sharpness. Depending on what I want to do with the background, I often choose apertures between f/8 and f/11 for landscape photography and f/1.4 to f/8 for portraiture. If you are shooting on a bright sunny day, try setting your aperture to a number between f/4 and f/8 and see if it makes a difference. Most lenses are sharpest between f/5.6 and f/8. Just bear in mind that adjusting the aperture alters the depth of field and will affect the bokeh effects, which are typically more significant than the impacts of sharpness.
8. Choose Continuous Mode
Set your camera to “continuous shooting” (sometimes referred to as “burst mode”), and then take quick shots of your subject while holding down the shutter button. Burst mode increases your chances of getting a good shot, especially when photographing moving subjects like children. Most modern cameras allow you to take at least three photos per second, and frequently as many as four or five. Even when your subject moves around, you can still capture excellent pictures by panning to keep up with them!
Sometimes, you’ll just be able to make out the face of a subject (like a child running joyfully, for example), and everything else will be blurry due to the motion, leaving you with wonderful isolation that emphasizes the subject.
I hope you enjoyed reading this article about using your DSLR or mirrorless camera to take sharp pictures. If you have any questions, do ask them in the comments section below.
Related Article: 6 TIPS FOR STUNNING NATURAL LIGHT PORTRAIT PHOTOGRAPHY
Related Article: A COMPLETE GUIDE TO ABSTRACT PH
