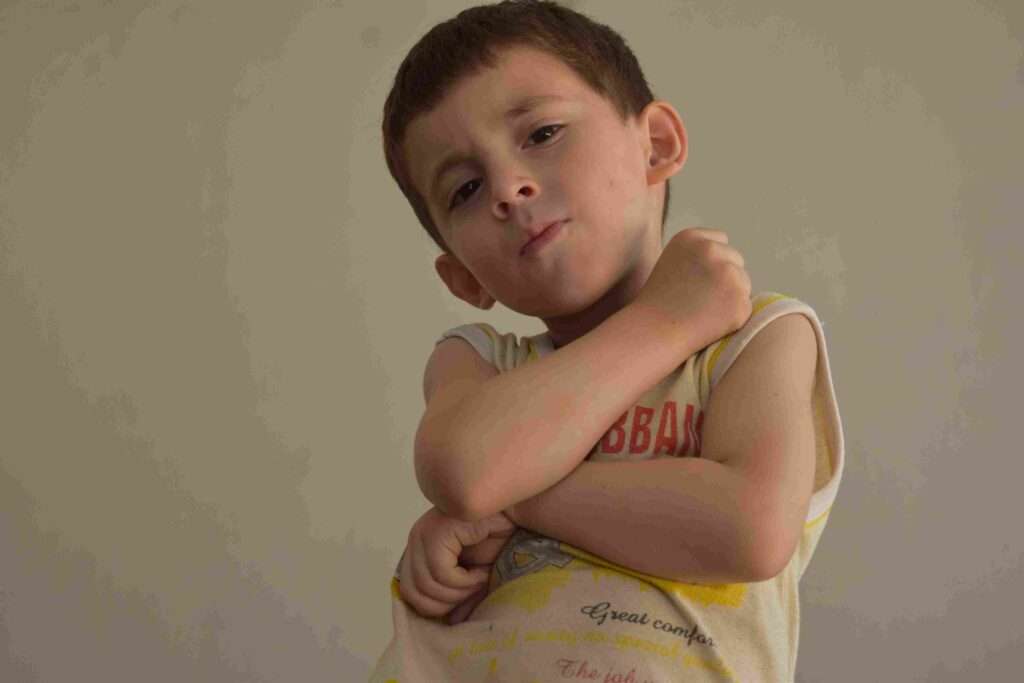
In the highly specialized field of portraiture or portrait photography, the subject or subjects’ personalities should also be captured in addition to their physical appearance. While the faces of the subjects are often the main focus of portraits, incorporating the body and some backdrop might help to further develop the atmosphere you’re trying to evoke. Constructionist, environmental, artistic, and candid seem to be the four main categories of portrait photography. The most typical style of portrait posing is constructionist, in which an individual or a group is placed in a formal environment or studio to convey a specific expression. For years, people have done this to get the standard family photo posture that appears on so many Christmas cards.
A subject will be shown in the environmental portrait inside a pertinent setting. A doctor working in a hospital, for instance, or a golfer playing golf. While candid photos catch participants in natural positions since they are typically unaware that they are being taken, creative portraits are generated using digital processes that enhance and change the photographs. As paparazzi from all over the world try to photograph famous people when they least expect it, candid photos have grown in popularity in recent years. You may follow these instructions to attain an ideal portrait posture in order to take the most professional portrait photos while reducing your post-processing burden.

Table of Contents
1. Making Your Model Feel at Ease

To accurately represent your subject’s personality, time and practice are required. When a subject is at ease, tension lines and fake grimaces are replaced with genuine grins that light up the eyes, making it simpler to capture her distinct personality and character in your portrait posing. Depending on what your customer hopes to accomplish with the finished image, there are many ideal portrait poses. You must speak with the client both in advance of the shoot and on the day of the photo posing shoot in order to prepare and get to know one another.
Develop a nice relationship with your topic to make sure they are as at ease as you can. On the day of the actual photo posing shoot, playing their preferred kind of music will also aid in calming the room.
2. Standing or Sitting Pose
Your portrait posing planning must take into account the subject’s choice of standing or sitting, the background they will be posing in front of, and the type of chair to be employed, depending on whether the picture is to be three-quarter or full body. At this time, clothes should also be taken into account. For instance, if the person is seated, an attractive formal gown won’t be displayed to its full potential. The person will look slimmer and have a more appealing impact while standing with her hips slightly angled toward the camera.
To do this, the subject must be posed in a portrait position with her front foot slightly in front of her rear foot, pointing in the direction of the camera, and her back foot at a 90-degree angle to the camera. Take the standing pictures first to avoid issues with wrinkles in clothes caused by sitting, if you’re intending to do standing and sitting portrait posing at the same shoot and in the same attire.
3. Handling Hands
Despite being a crucial aspect of photo pose, hands frequently go unnoticed. For the majority of people, verbal and physical communication with others involves using their hands, which are capable of conveying a wide range of emotions and expressions. As fingernails, dry skin, wrinkles, and other physical characteristics provide information about the individual, hands can also be an indicator of age and status. While you might want to emphasize a neatly groomed hand that is gently lying beneath your subject’s chin, you could also want to make sure that unattractive hands are out of the picture.
Try to give the hands in the image a function, such as holding a book, framing the face, or directing the viewer’s gaze. In standing pictures, the hands and arms should be permitted to hang naturally, however in seated shots, if the hands are to be in the image, they should be positioned together in front of the person at waist level or higher.
4. Facing the Truth
When you’re presenting your subject in a portrait, the camera angle is very crucial. If the camera position is too low and the woman needs to bow her head downward, a double chin and loose jowls might be highlighted to devastating effect. The easiest way to get a beautiful neckline is to have the subject turn her head slightly to the side or back to gaze up at the camera. Portrait-posing the subject can help you get a more natural photo by getting her attention off the camera and on something else.
5. Brightening the Face
Posing for portraits requires good lighting. The most natural effects come from having your subject face a source of natural light, such as a window or the outdoors, although many pros also frequently employ parabolic lights and a traditional portrait-posing lighting method like paramount lighting to get more controlled results. This technique, also known as butterfly lighting, is very well-liked when portrait-posing models because it creates a symmetrical, butterfly-like shadow behind the nose and draws attention to the subject’s healthy skin and prominent cheekbones. Close to the subject, the key light is positioned high and the fill light is positioned right beneath it. The lights are then adjusted to create the ideal butterfly effect.
The advent of digital photography has made it feasible for photographers to snap numerous pictures fast and affordably. Today’s photographers may take advantage of this to experiment with postures and approaches and shoot photographs that their subjects will like.
