The photographer is usually interested in the beach or shore since they always provide amazing sights. Landscapes and seascapes are equally popular, and by using the water, ocean, or coastline as your subject, you are sure to get some striking pictures. so if you are Passionate about such beautiful seascapes photographs then this article is very important for you to learn
How to Take Stunning Seascape Photos.
Table of Contents
Golden Hours

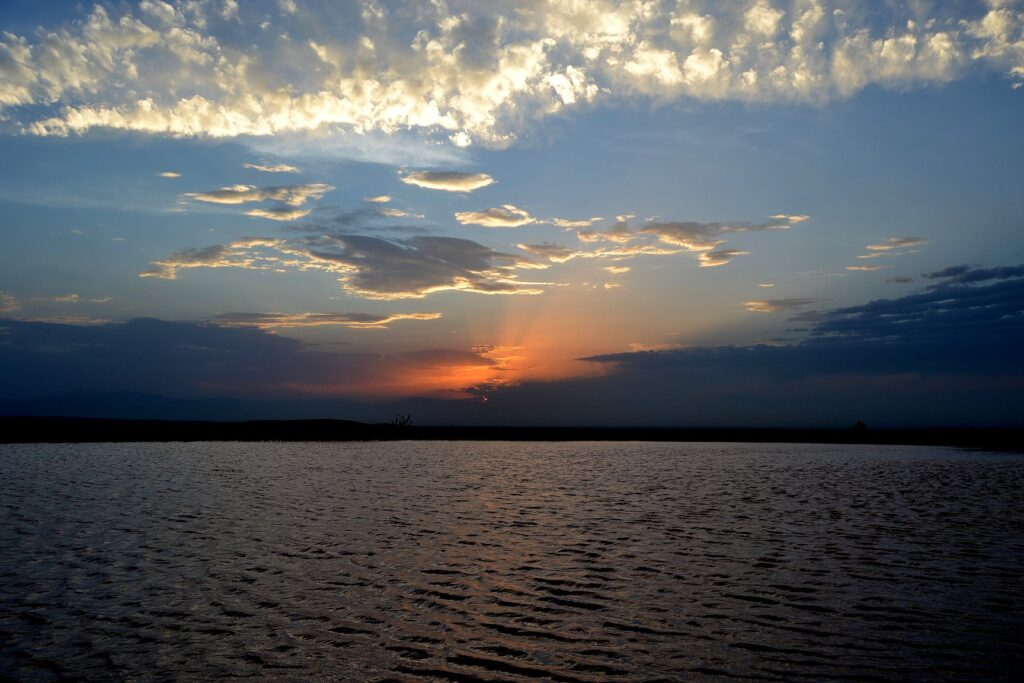
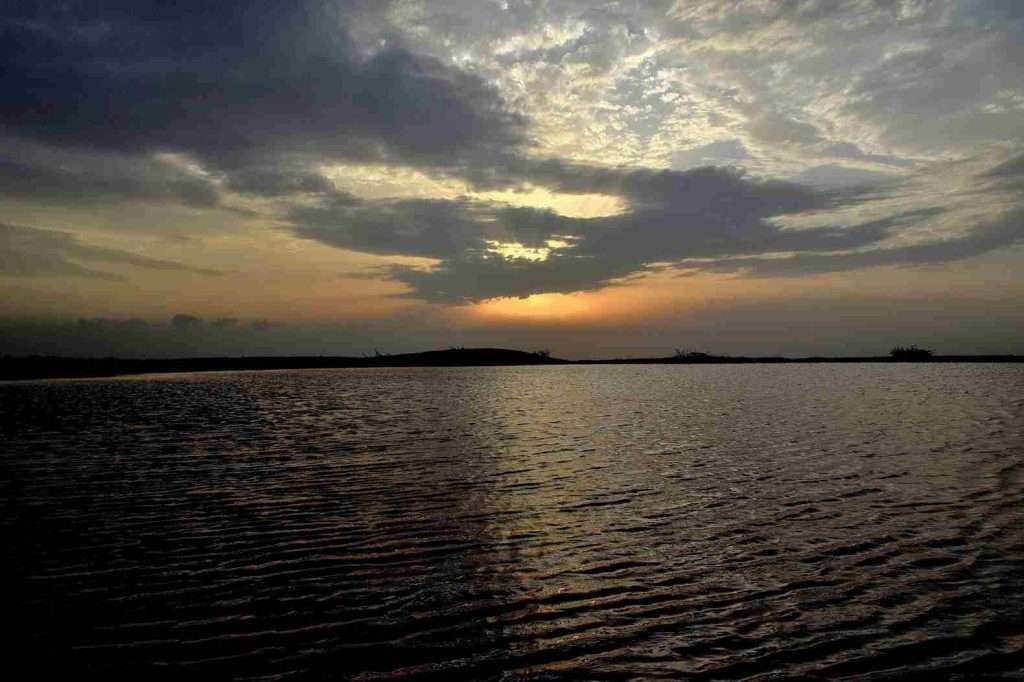
At various times of the day, the same beach might appear very differently. During the “golden hours,” which are early mornings and late afternoons when the sun is low in the sky, photography is encouraged. This is when the sky may display a stunning variety of hues and the seas can reflect light in stunning ways.
As you see in the above image, the colors that are created at the time of sunset complete this seascape photo frame.
Location

Learn more about the location before you go so that you can arrive prepared. Search online, speak with locals, look at pictures, or visit the location itself. Select a safe location to put up your tripod and other camera equipment. Look up the weather predictions.
Focused Attention

Add foreground interest to make it more appealing if it appears fairly barren and uninteresting. Look around you for details and little moments that can catch your attention. Make advantage of interesting yet unforced foreground elements like pebbles, rubbish, the sandy seashore, and the like.
Horizon
Keep your horizon as straight as possible because irregular horizon lines are typically disliked. After you snap the picture, you may adjust it if it still seems off-center. In order to make the composition appear balanced, the horizon is typically positioned at a third of the frame. A centered horizon gives the impression that the image was divided in two. Be aware that horizons placed at 2/3 of the frame will display more land and water, whilst horizons placed at 1/3 of the frame will display more sky.
Camera Setting for Stunning Seascapes Photos
Aperture
Keep in mind that the aperture setting you choose will affect the depth of field.
If you want the majority of the picture to be clear and well-defined, choose a small aperture (large lens hole), such as f8-f16.
Be aware that a narrow aperture will need more light to reach the lens; as a result, you might need to increase your shutter speed and ISO.
Shutter Speed
Play with the shutter speed to capture different types of water movements.
Waves and sprays will seem crystalline and the water movement will be frozen at a fast shutter speed, like 1/125 sec.
On the other side, an extremely slow shutter speed, like 1 second, can provide a hazy or satiny effect in the water.
Gear protection
Beaches and the shoreline are susceptible to strong winds that might blow sand and grit into your camera. When not in use, cover your lens, put the camera back in its bag, or protect your accessories with a robust camera case. Additionally, keep an eye on all of your equipment to protect it from the elements and the sea.
Crop
Seascape photographs are typically taken horizontally to fit as much of the water into the frame as possible. Additionally, you may try a vertical crop, which would reveal more of the sky and beach.
Filters
In seascape photography, these three filters are frequently employed:
- Neutral Density (ND) reduces the amount of light that reaches the lens and extends exposure times.
- Gradually reducing the light that strikes the lens is Graduated Natural Density (GND).
- Polarizing filters reduce glare, enhance color vibrancy, and lessen the amount of light present in the picture.
THANKS FOR READING WE HOPE YOU LOVE MY ARTICLES, IF SO PLEASE COMMENT DOWN BELOW
